Adding Banking
- Alan Makawa (Deactivated)
- Gill Bye
- Natalie Jobson
Introduction
This guide explains how to record your Banking in the Finance Module within an outlet.
Assumptions
That you have not closed the week-make sure your banking goes in the correct week as there is a drop-down selection.
The date drop-down defaults to current week ,you may record banking against any day in that week.
Where to find this
Click FINANCE > BANKING >ADD
Step-by-step guide
Step 1. Enter the following fields as follows, click on the add sign.
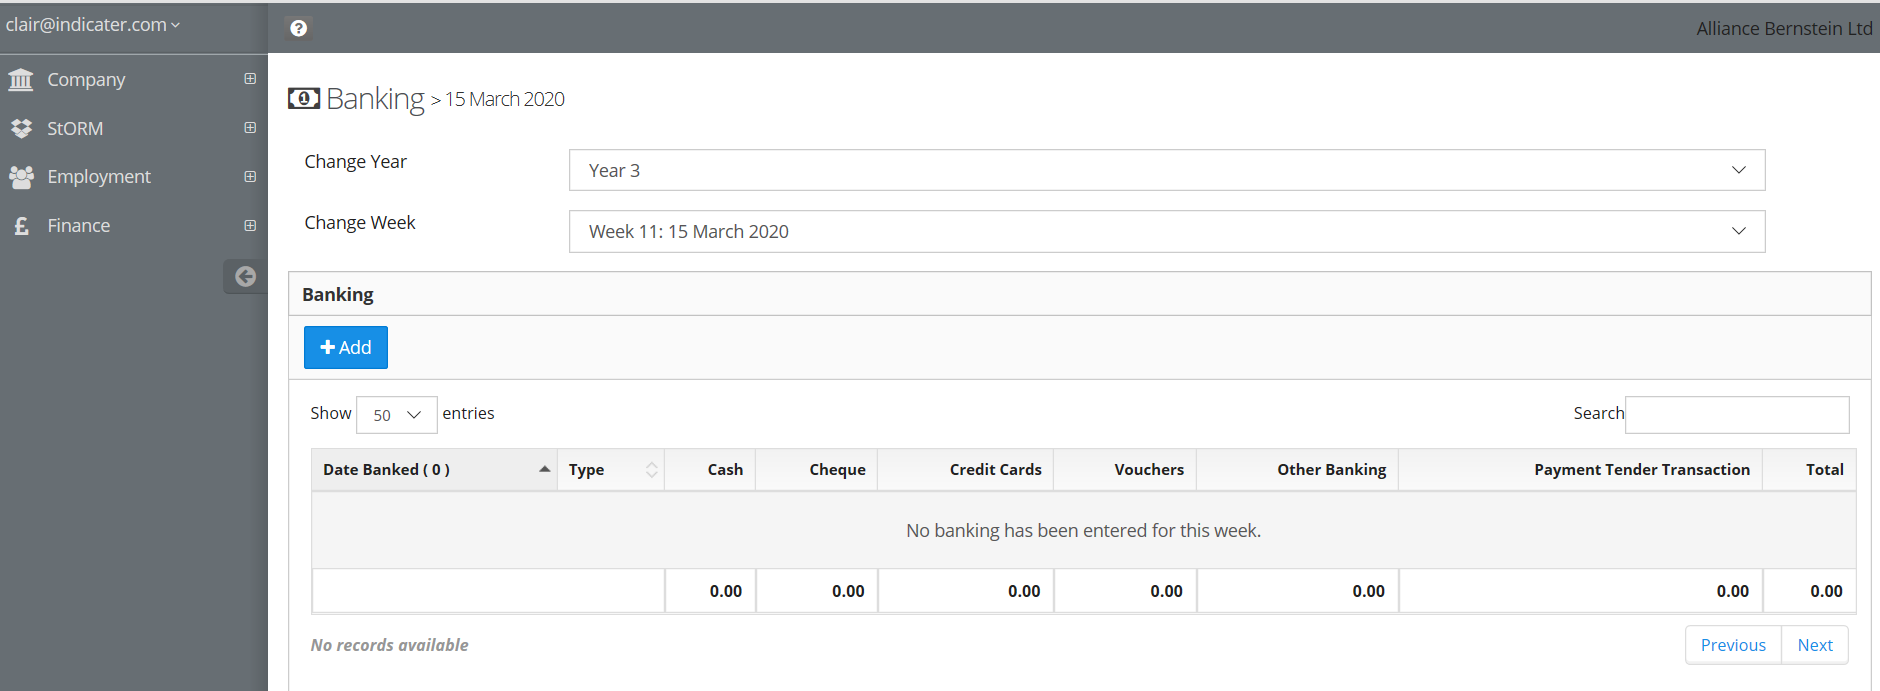
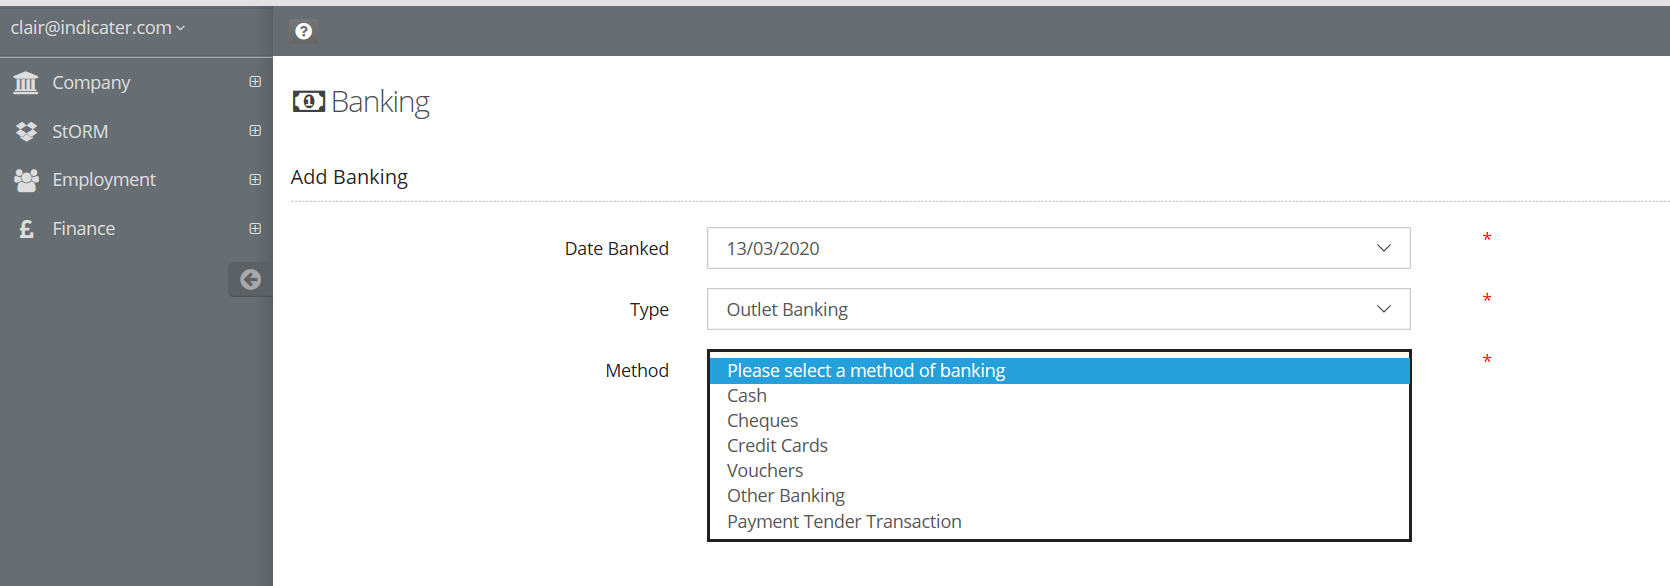
Date Banked : Select from the drop-down the date you are doing the banking , this can be any date in the current week.
Banking Type : Select from drop-down Outlet Banking.
Method: Select from drop-down the mode of payment.
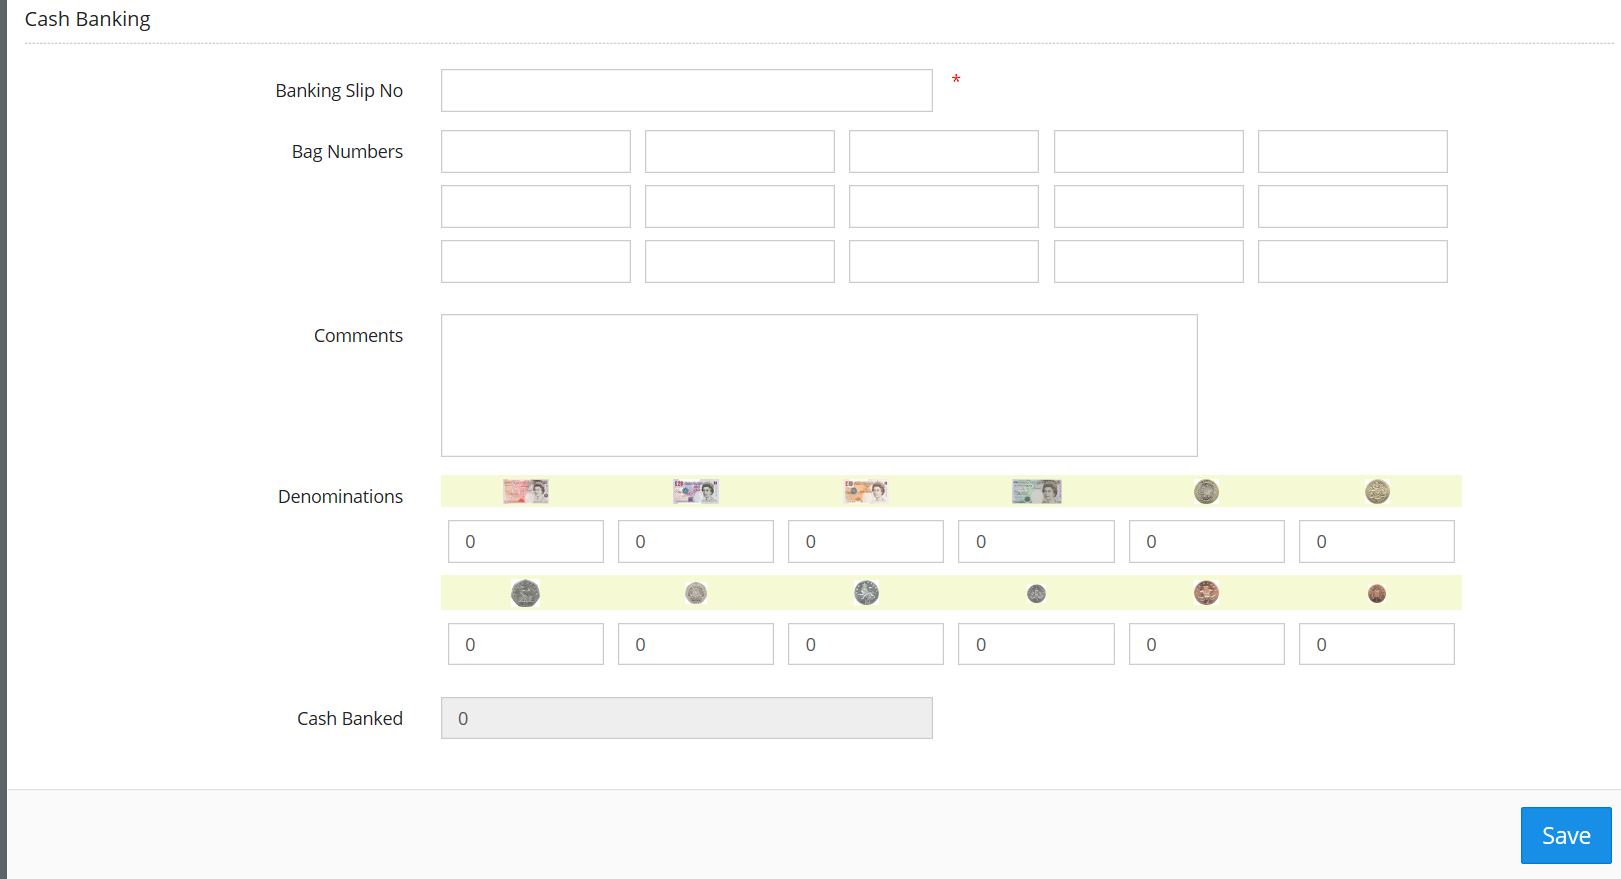
Step 2.1
For Cash Banking Complete as follows:
Banking Slip Number: Enter the banking slip number, this field is marked with * to denote its a compulsory field.
Bag Number : Enter bag number (Refer to company policy on recording this, some companies do not require this field to be entered.)
Comments : Enter any comments that may be relevant to the banking
Denominations: Enter the cash you have in the correct boxes and the total can be seen at the bottom.
Click Save
2.2
For Cheque Banking complete as follows
Banking Slip Number : Enter the Banking Slip Number
Reference : Enter any reference that is relevant to the Cheque Banking
Cheques :Enter the Banked value of Cheques
Notes : Enter comments relevant to banking
2.3
For Credit Card Banking complete as follows
Banking Slip Number :Enter the Banking Slip Number
Card Type: Select from the drop-down type of card for example Visa.
Amounts: Enter the value of the transaction
Notes : Enter notes relevant to banking
2.4
For banking to include Voucher
Reference : Enter voucher reference,
Amount : Enter the amount
All banking will automatically be deducted from expected Cash in Hand value in the cash up screen.
Related articles
Filter by label
There are no items with the selected labels at this time.