Requesting an export - Head Office
- Alan Makawa (Deactivated)
- Ruth Mills
Introduction
This guide shows how to request exports from Head Office Finance. Exports can be run reports for one or more outlets.
Where to find this
Exports are run from Head Office > Finance > Date Export
Assumptions and Points to remember when requesting exports
- As exports will only contain data from closed weeks, it is essential that the weeks being exported have been closed in each outlet. This is done in Company > Close Week in each outlet. An exception to this is an invoice cerated by converting an estimate which is all EDI invoices. They are locked instantly and don't rely on the close week process.
- You can run a Close Period report from Head Office > Company > Reports. Green means that a week is locked, red is open, blue is locked and has been approved by a head office user.
- An export will include all data not already tagged as exported, i.e. all previously unexported data, even if it is before your selected period. For example, an export for the first week in June 2021 will include any transactions made in May, April etc that haven't previously been exported.
- To ensure an export only includes data from a selected period, you will need to first run a live export for the period before your chosen period to lock all previous data. You can then run your export for the chosen date.
- IndiCater will work with you the first time you run a new export to ensure all previous data is locked and therefore not included in your export.
- Only live exports lock the data. If a verification export has been run, the data is still available to be exported again.
- Data is locked in the database once is has been exported as a live export and it cannot be exported again.
- Once a live export has been run and the data exported, the client cannot unlock the data or re-open the week for that module. In this instance, the user will need to raise a Support Ticket detailing the requirement, for example, does the user wish to add a new transaction or amend an existing transaction as this will impact the task to be undertaken by IndiCater. This may incur a charge.
- Please ensure you have selected the correct options prior to running a live export as this can only be undone by our database manager and may incur a charge.
- Exports are emailed to the user's email address, normally within an hour of being requested.
- A transaction tagged as exported will not appear in any subsequent exports. If you therefore only choose to run verification exports you will continue to get the same transactions each time.rxx
Where to find this
Exports are run from Finance > Data Export
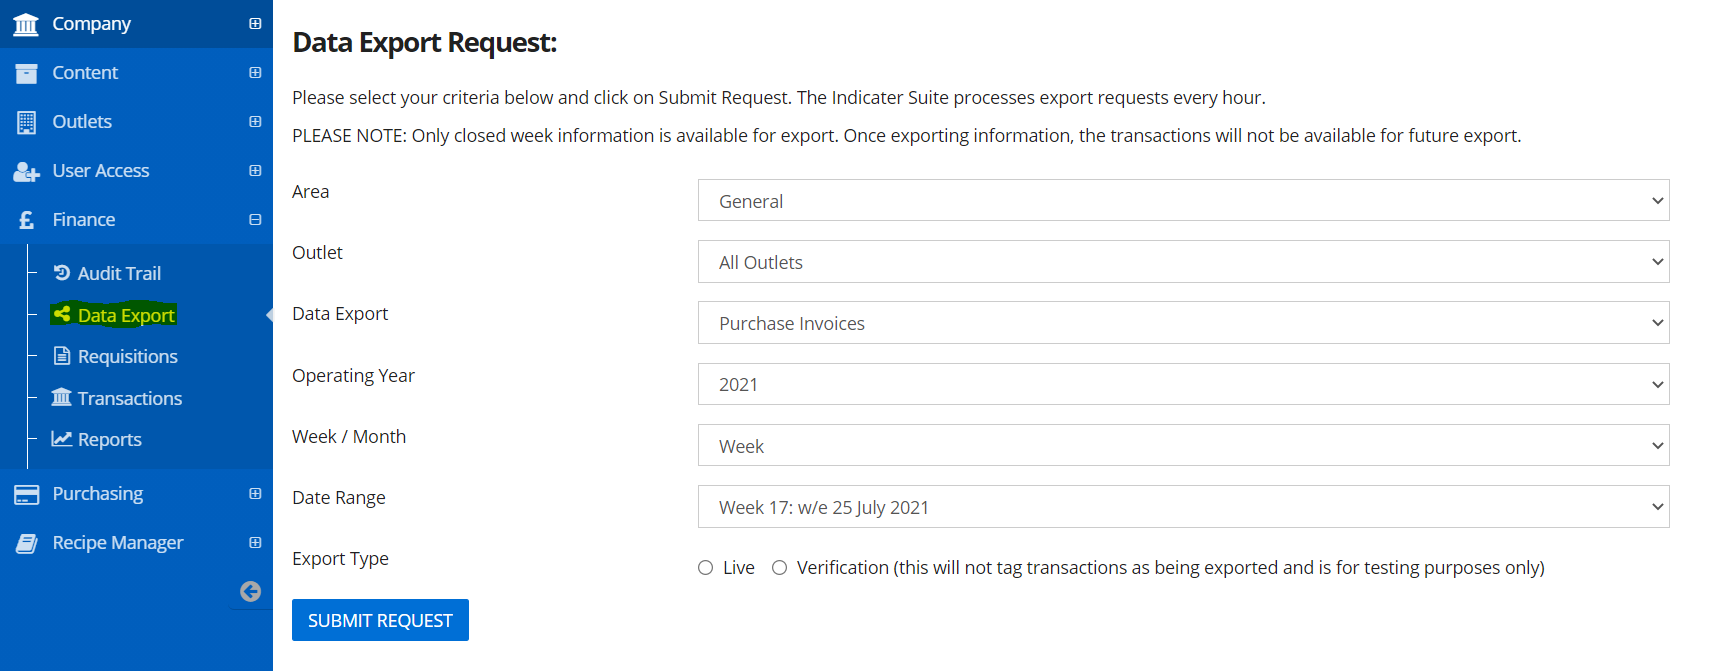
Step-by-step
Step 1. Select criteria for the export
Area: Choose one area or All Areas from dropdown
Outlet: Choose one outlet or All Outlets from dropdown, If you have chosen a specific area, your list of outlets will show those outlets in that area.
Data Export: Select the export you require from dropdown. You may have 1 or multiple exports depending on what you have licensed from IndiCater.
Operating Year: Defaults to current year, change the year if you want to view different year.
Week / Month : Choose between Week or Month for the export data
Date Range: Select the week or Month depending on the criteria you have selected above.
Export Type: Choose Live or Verification. We recommend running a verification to review the data in the first instance. This will return all the relevant data but will let you continue to amend the data. Once you are happy the data is correct, run a live verification. This tags the data in the database as exported meaning it cannot be exported again.
Step 2. Submit request and the report will be sent to your email address