...
The head office user needs to have the Outlets Set Up permission.
7. Where to find this
Head Office > Outlets > Set Up
Step-by-Step guide
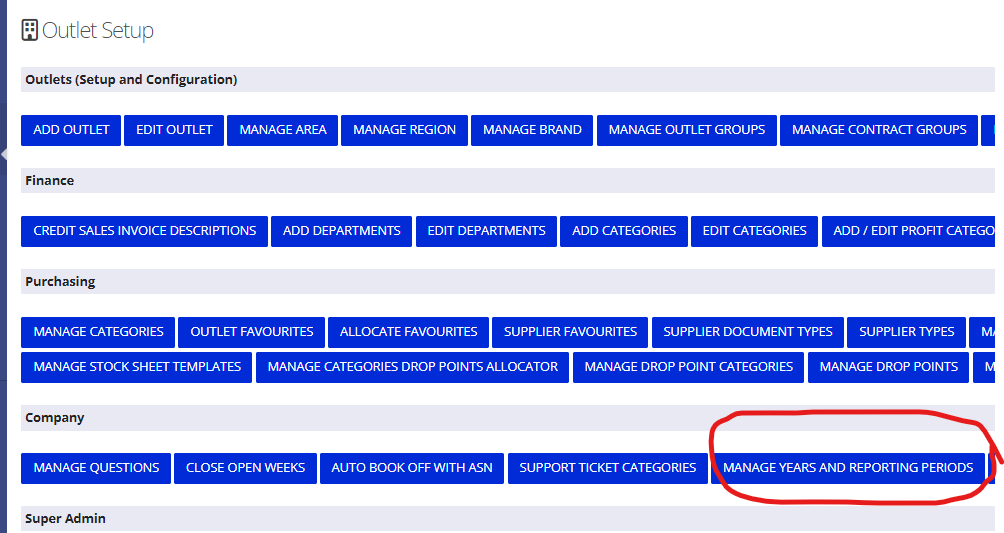
- Once in the correct location mentioned aboveFrom the Outlets Set Up page, click on Manage Years and Reporting Periods
- Select Add new Financial Year
- Add year name, usually starts with 1 and continues the following year with 2, 3 etc.
- Select Financial Year start date, must be a Monday.
- Select Financial Year End date, must be a Sunday.
- Select Add.
- under the Company section of options
2. Click Add New Financial Year
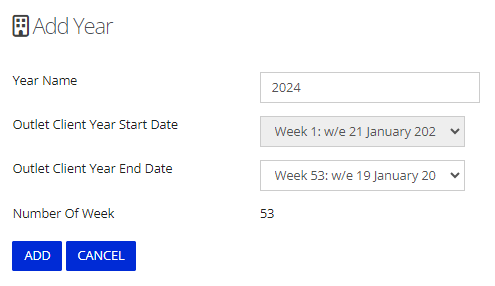
3. Enter a Year Name, it is common to use the year, eg 2024 or 2023/2024
4. The year start date will be set to the day after the end of the previous year and therefore can't be changed
5. Pick your required year end date using the drop down. Please note that a year always needs to be an exact number of weeks and the start day of the week is set in the database (based on the date decided on when you started to use IndiCater)
6. The number of weeks will be automatically counted
7. When ready, click Add
Once the year has been added, you can choose to add Reporting Periods if you use a 4 4 5 periods or similar. These will be available as reporting periods in the reports throughout IndiCater
1.To add Periods in year,
...
select the year
...
in the Year drop down and enter the number or reporting periods you need, eg 12
2. Select Get periods
...
You will now have a list of periods in the year.
...
3. In the blank box next to the period number, enter the number of weeks you require in
...
the period
...
...
4. When complete, click Process Reporting Periods at the bottom of the page