Introduction
This guide explains how to add Client Reserves to an outlet or outlets
...
Outlet users don't have any visibility of the reserves. The schedule of purchases can be activated as a stand alone report for head office users
Assumptions
You are using the Client Invoicing module
Where to find this
In Head Office, click Finance > Client A/C (Client Account Manager)
Step-by-Step guide
- Click Outlet Reserves
- This page defaults to the current year and current week to enable you to add reserves to that week. If you want to add reserves to a different week, change the date.
- The page shows you all outlets. You can restrict this view by choosing a specific area or outlet.
- Stock, Cleaning and Disposables, Sundry and Labour are the options provided to record reserves against. The numbers on the screen show a cumulative amount added for each outlet.
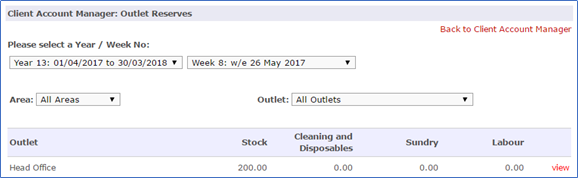
- To view the history or to add a new reserve, click view next to the relevant outlet.
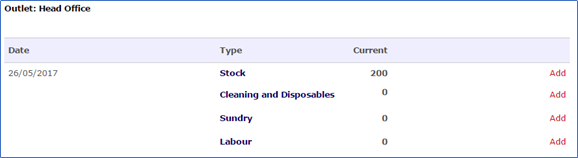
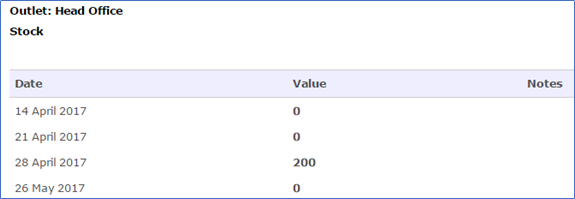
- You can then click on the Type to see the detail. If I click on Stock in the above example, I can see when the £200 was added.
- To add a new reserve, click on Add next to the relevant option, eg Stock
- Enter the correct value. You can enter a negative amount
- You have the option to automatically reverse the reserve. If you want to do this, click yes
- You can select whether you want to reverse it in a number of weeks or months. You can edit the amount if required
- Click update